
ADVERTISEMENT
Instructions
Step 1: Prepare the Base
- Line a baking dish: Start by lining a 9×13-inch baking dish with parchment paper or aluminum foil, leaving some overhang for easy removal later.
- Combine the wet ingredients: In a medium saucepan over medium heat, combine the peanut butter, light corn syrup (or honey), granulated sugar, and a pinch of salt if using. Stir continuously until the mixture is smooth and begins to bubble, about 3-5 minutes. Remove from heat and stir in the vanilla extract.
Step 2: Mix with Rice Cereal
- Add the rice cereal: Pour the warm peanut butter mixture over the rice cereal in a large mixing bowl. Gently fold the cereal into the mixture until all the cereal is evenly coated. Be careful not to crush the cereal too much.
Step 3: Press into the Baking Dish
- Transfer the mixture: Pour the mixture into the prepared baking dish. Using a spatula or your hands (dampened to prevent sticking), press the mixture firmly and evenly into the dish. Make sure it’s packed tightly for a better texture in the final bars.
Step 4: Melt the Chocolate
- Melt the chocolate chips: In a microwave-safe bowl, heat the chocolate chips in 30-second intervals, stirring between each interval until fully melted and smooth. Alternatively, you can use a double boiler for this step.
Step 5: Assemble the Bars
- Spread the chocolate: Pour the melted chocolate over the pressed cereal mixture in the baking dish, spreading it evenly with a spatula. If desired, sprinkle a pinch of sea salt on top for an extra burst of flavor.
Step 6: Chill and Cut
- Chill to set: Refrigerate the bars for at least 1-2 hours or until the chocolate is firm. Once set, lift the bars out of the dish using the parchment overhang and place them on a cutting board.
- Cut into squares: Using a sharp knife, cut the bars into squares or rectangles, depending on your preferred size.
Tips for the Perfect Crunch Bars
- Substitutions: If you’re not a fan of peanut butter, feel free to use almond butter or sunflower seed butter for a nut-free alternative.
- Add-ins: Customize your crunch bars by adding in mix-ins like mini marshmallows, chopped nuts, or dried fruit for added texture and flavor.
- Storage: Store the bars in an airtight container at room temperature for up to a week. They can also be refrigerated for a longer shelf life.
Why These Crunch Bars Work
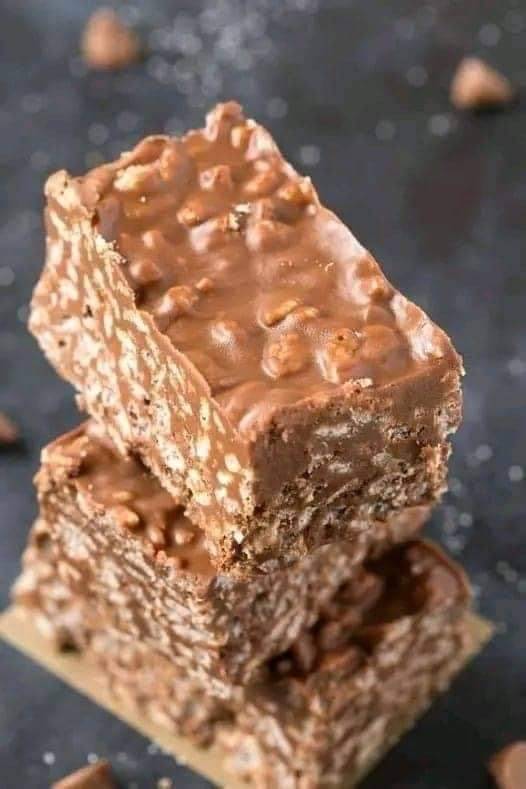
No-Bake Homemade Crunch Bars are a hit because they balance sweetness, crunch, and a touch of salt. The combination of rice cereal and peanut butter provides a satisfying texture, while the melted chocolate brings everything together in a sweet, indulgent treat. Plus, they’re incredibly easy to make, requiring minimal ingredients and no baking time.
Perfect Pairings
These bars are versatile and can be enjoyed as a snack or dessert. Pair them with:
- A cold glass of milk for a classic combination.
- Coffee or tea for a delightful afternoon treat.
- Ice cream or yogurt for an indulgent sundae.
Conclusion
No-Bake Homemade Crunch Bars are not just easy to make; they’re also a delicious treat that can be enjoyed anytime. Whether you’re looking for a quick snack for the kids, a sweet addition to a picnic, or a simple dessert for a gathering, these bars are sure to satisfy. With their perfect blend of crunch, sweetness, and convenience, you’ll want to keep this recipe on hand for any occasion!