ADVERTISEMENT
Instructions
- Prepare the Chocolate Shells
- Line a muffin tin with paper cupcake liners or use silicone molds for a more professional look.
- Melt the chopped chocolate and coconut oil together in a heatproof bowl over a pot of simmering water (double boiler method), stirring until smooth. Alternatively, melt in the microwave in 20-second intervals, stirring in between, until fully melted.
- Spoon about a teaspoon of the melted chocolate into the bottom of each cupcake liner, spreading it slightly up the sides to form a chocolate shell. Tap the tray gently to ensure the chocolate spreads evenly.
- Place the tray in the freezer for 10 minutes to set the chocolate.
- Make the Peanut Butter Filling
- In a medium bowl, mix together the peanut butter, powdered sugar, vanilla extract, and a pinch of salt until smooth. The filling should be thick but still spreadable.
- Divide the peanut butter mixture into small balls (about a teaspoon each), then flatten them slightly to fit inside the chocolate cups.
- Assemble the Peanut Butter Cups
- Place a flattened peanut butter disc in the center of each chocolate-lined cup.
- Cover each peanut butter filling with another teaspoon of the melted chocolate, spreading it to ensure the filling is completely covered. Tap the tray lightly on the counter to smooth the tops.
- Optionally, sprinkle a little sea salt, crushed pretzels, or decorative toppings on the top layer of chocolate before it sets.
- Chill to Set
- Refrigerate the peanut butter cups for at least 30 minutes, or until completely set. If using silicone molds, you can gently pop the cups out once firm.
- Store the finished cups in an airtight container in the refrigerator for up to 2 weeks, or freeze for longer storage.
Tips for Making the Best Gourmet Chocolate Peanut Butter Cups
- Use Quality Ingredients: Opt for high-quality chocolate and peanut butter for the richest flavor. Dark chocolate with at least 60-70% cocoa works particularly well.
- Smooth Chocolate Coating: Adding a bit of coconut oil or butter helps the chocolate melt more smoothly and makes it easier to work with.
- Taste and Adjust the Filling: Customize the filling’s sweetness by adding more or less powdered sugar. For a salty-sweet contrast, sprinkle a pinch of sea salt on top of each cup.
Flavor Variations
- Salted Caramel Peanut Butter Cups: Add a layer of salted caramel sauce on top of the peanut butter before sealing with chocolate.
- Crunchy Peanut Butter Cups: Use crunchy peanut butter for added texture, or mix in chopped peanuts for extra crunch.
- Spicy Chocolate Cups: Add a pinch of cayenne pepper or chili powder to the chocolate for a spicy twist on the classic treat.
Serving Suggestions
- Gifting: Wrap them individually in foil or place them in a decorative box for a thoughtful homemade gift.
- Dessert Platter: Serve alongside other homemade treats, like truffles or chocolate-covered fruits, for a gourmet dessert spread.
- Coffee Pairing: Enjoy one of these indulgent cups with a cup of hot coffee or espresso for an extra special treat.
Conclusion
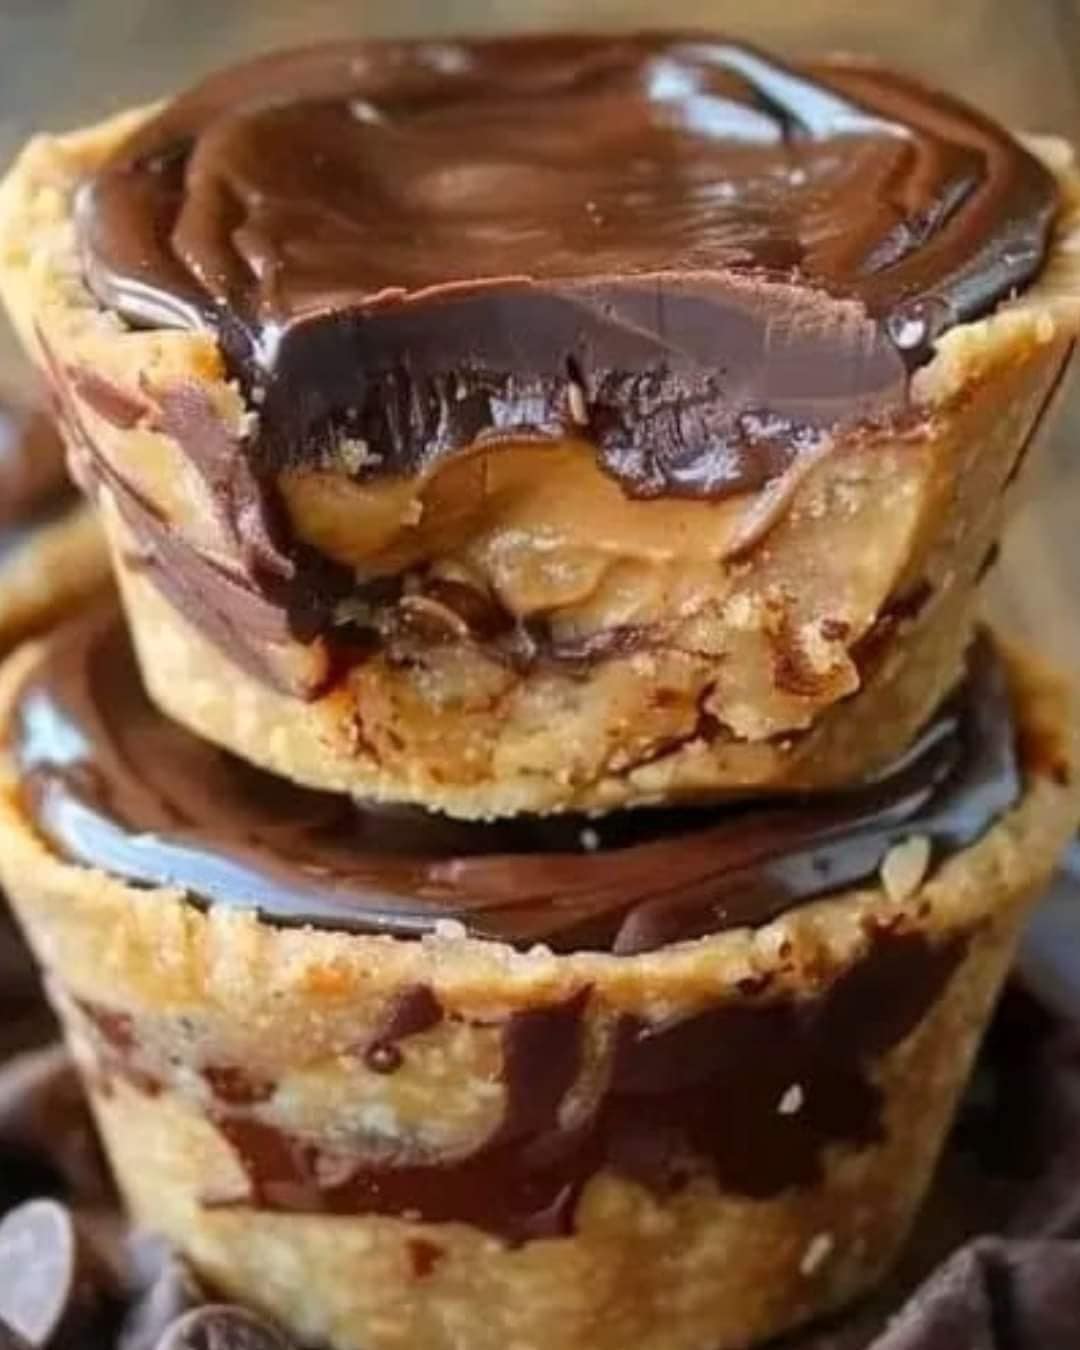
Making your own Gourmet Chocolate Peanut Butter Cups is a fun and rewarding process that brings the classic candy to new heights. With the perfect balance of smooth chocolate and creamy peanut butter, plus the ability to customize flavors and toppings, these homemade treats are sure to impress. Whether you’re making them for yourself, sharing them with friends, or giving them as a gift, the taste of these gourmet cups is simply irresistible.

