
ADVERTISEMENT
Instructions
Step 1: Activate the Yeast
- Prepare the Yeast Mixture: In a small bowl, combine the warm water, sugar, and yeast. Stir gently and let it sit for about 5-10 minutes until the mixture becomes frothy.
Step 2: Make the Dough
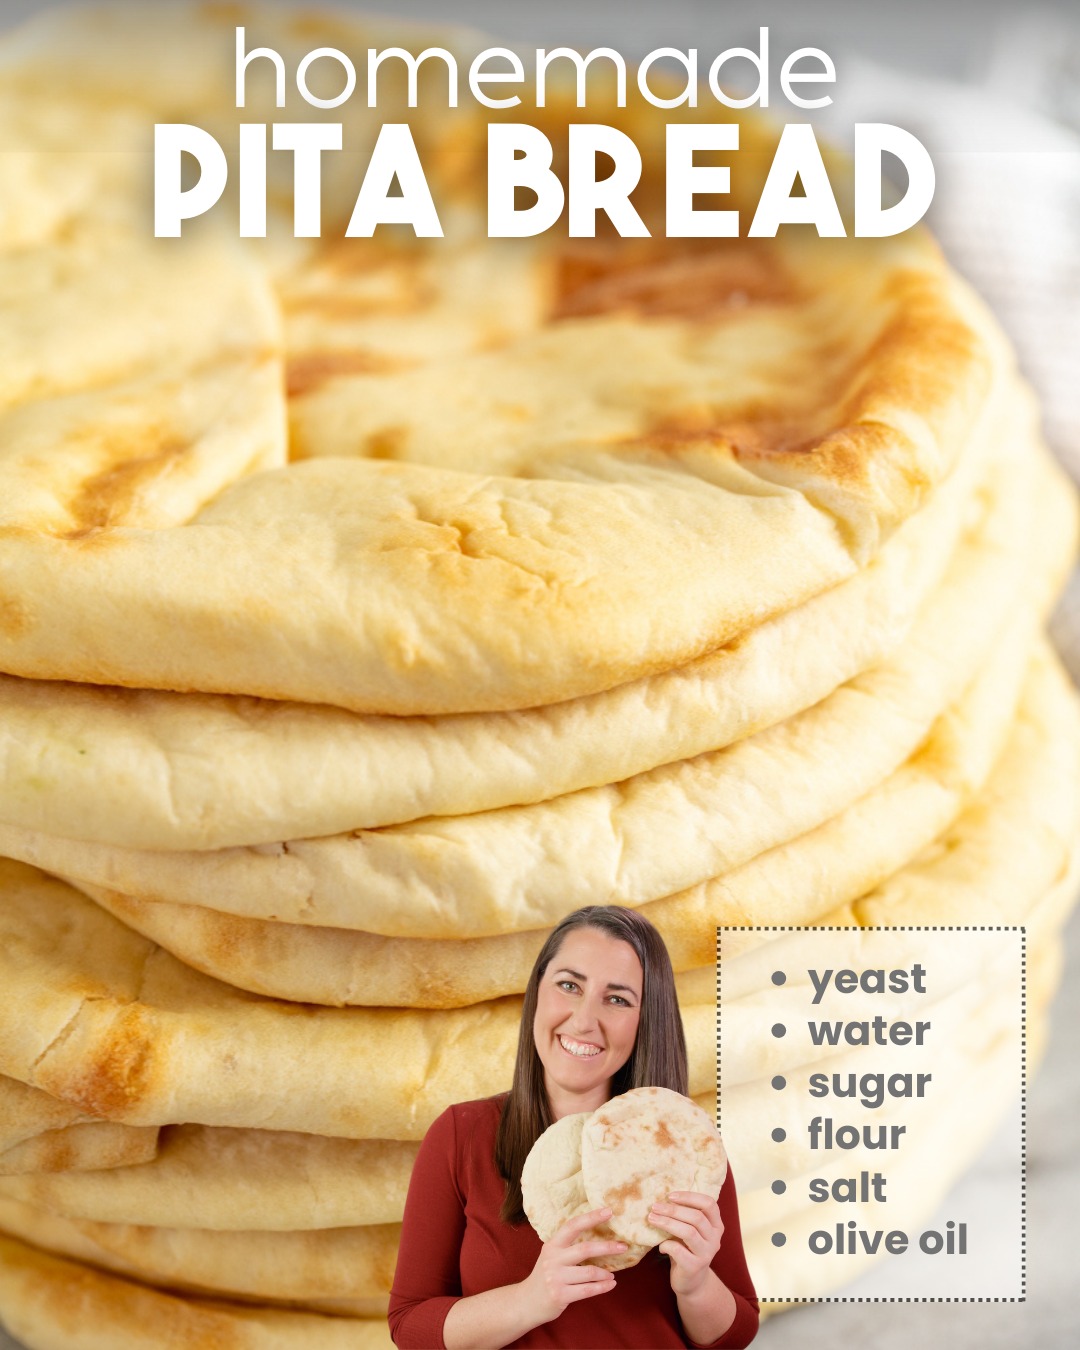
- Combine Dry Ingredients: In a large mixing bowl, whisk together the all-purpose flour, whole wheat flour, and salt.
- Mix Wet and Dry Ingredients: Once the yeast is frothy, add it to the dry ingredients along with the olive oil (if using). Stir until a shaggy dough forms.
- Knead the Dough: Transfer the dough to a floured surface and knead for about 5-7 minutes until it becomes smooth and elastic. If the dough is too sticky, sprinkle a little more flour as needed.
Step 3: Let the Dough Rise
- First Rise: Place the kneaded dough in a lightly greased bowl, cover it with a clean kitchen towel or plastic wrap, and let it rise in a warm place for about 1 hour, or until it has doubled in size.
Step 4: Shape the Pitas
- Divide the Dough: Once risen, punch down the dough to release any air bubbles. Divide it into 8 equal pieces.
- Shape the Pitas: Roll each piece into a ball, then flatten it with your hands or a rolling pin into a circle about 6 inches in diameter. Make sure they are evenly shaped to ensure even cooking.
- Rest the Dough: Cover the shaped pitas with a clean towel and let them rest for about 30 minutes. This helps the dough relax and makes it easier to puff up during cooking.
Step 5: Cook the Pitas
- Preheat the Oven: If using an oven, preheat it to 475°F (245°C). You can also use a skillet on the stovetop.
- Bake the Pitas: If using the oven, place a baking stone or an upside-down baking sheet in the oven to preheat. Once hot, carefully place the pitas directly onto the stone or sheet and bake for about 3-5 minutes, or until they puff up and are lightly browned.
- Cook in a Skillet: If using a skillet, heat it over medium-high heat. Cook each pita for about 1-2 minutes on one side until it puffs up, then flip and cook for another minute on the other side. Adjust the heat as necessary to prevent burning.
Step 6: Serve and Enjoy
- Cool the Pitas: Remove the pitas from the oven or skillet and wrap them in a clean towel to keep them warm and soft.
- Serving Suggestions: Enjoy your homemade pita bread warm, stuffed with your favorite fillings like falafel, grilled meats, or fresh veggies. They are also great for dipping into hummus or yogurt-based sauces.
Conclusion
Making your own pita bread at home is a rewarding experience that elevates your meals. With just a few ingredients and some simple steps, you can create soft, fluffy pitas that are perfect for any occasion. Enjoy experimenting with different fillings and dips to make the most out of your homemade pita bread. Happy baking!